

Let's face it, we all love white Converse, Vans, Keds and so on. They look amazing when they are brand new, and are sooo comfy. But they pick up dirt like a magnet, and any little mark on them just makes me want to cry! So as I was washing them this weekend, I thought I would share the entire process from start to finish with you, so your white trainers can be as sparkly and new looking as mine. I only use everyday cleaning products you'll find around your house, so this will cost you virtually nothing!
What you will need
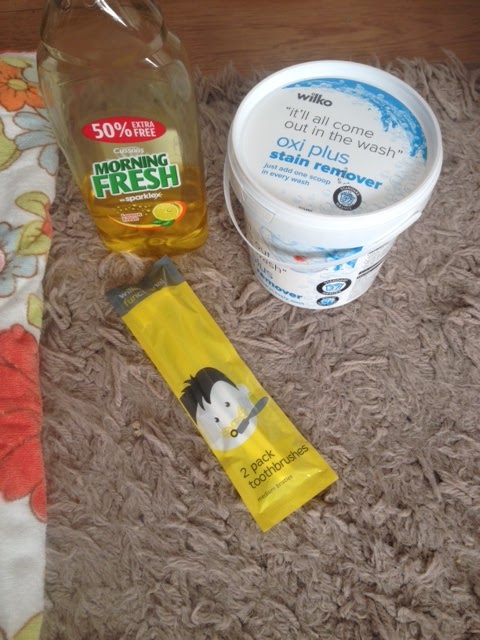
Washing up liquid
Vanish Oxy Action Stain Remover (I'm using a Wilkos one to save pennies)
A cheap/old toothbrush - I bought two from Wilkos for 18p
1. Fill a washing up bowl with warm/hot water - you will be sticking your hands in and out so don't burn yourself! Put two scoops of Oxy Action Stain Remover in and swirl it around until all the little bits have dissolved. Remove the laces from the shoes. If these are dirty I would recommend just binning them and buying new ones, it's a lot easier than trying to clean them.
2. Soak one trainer in the bowl.
3. With the other shoe, take your toothbrush and squirt some washing up liquid on the brush. Scrub in small circular motions around the rubber on the bottom of the shoe first. Every so often, wipe away at the shoe with an old towel to remove the excess dirt where you have been scrubbing, and so you can assess how clean it is and whether you need to keep scrubbing or not.
4. Switch the shoes over, and while you're soaking the other shoe now scrub away at the rubber on the other shoe and keep wiping.
5. Now make sure both shoes are in the bowl, submerged in the water. Leave them for a few hours.
6. Remove one of the shoes and wipe any excess dirt off. Now, again start scrubbing in circular motions at the canvas part of the shoe with the toothbrush and fairy liquid, wiping with the towel every so often. Do this to the entire canvas part, then put it back in the water and switch.
7. Leave them again for a few hours, and keep going until you feel that the big stains and marks have been removed.
8. Leave them to dry, and ta-dah! The finished product!

♥
No comments:
Post a Comment